
 Pin it
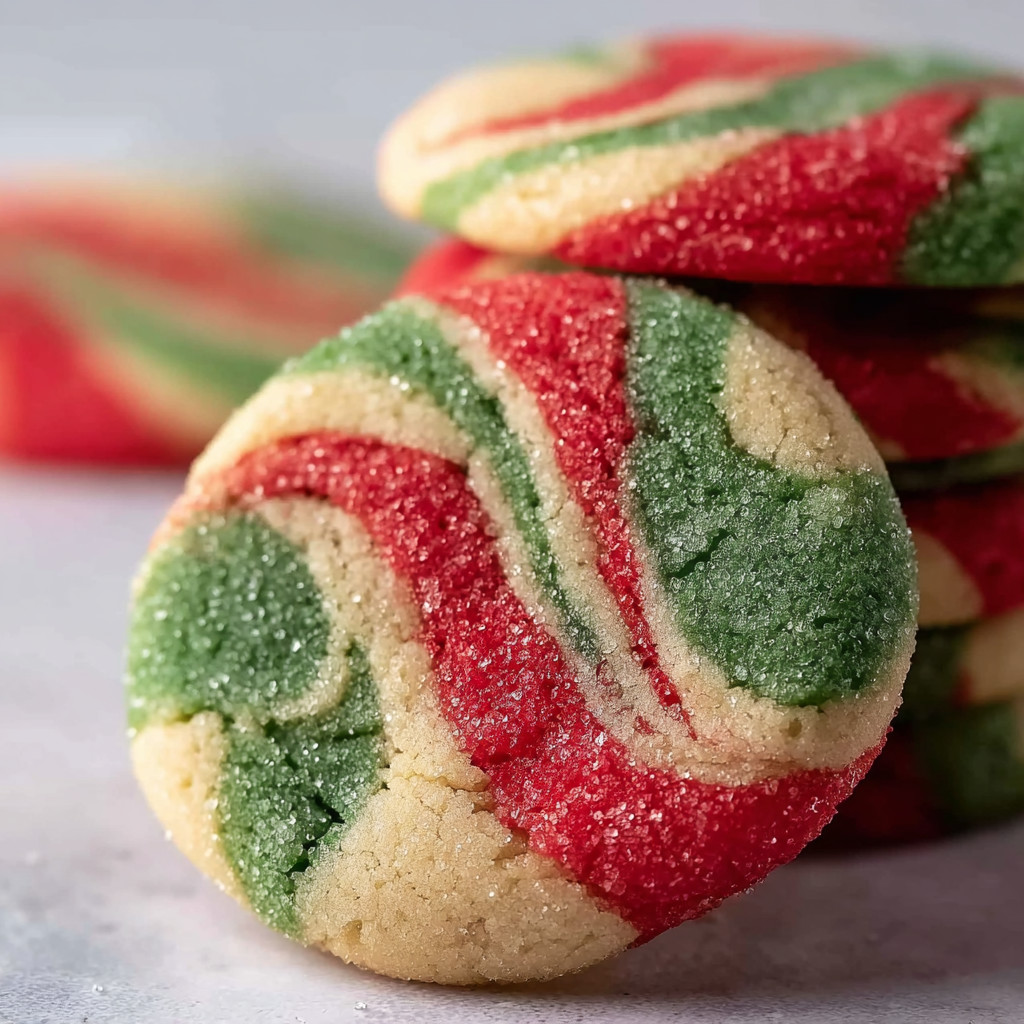
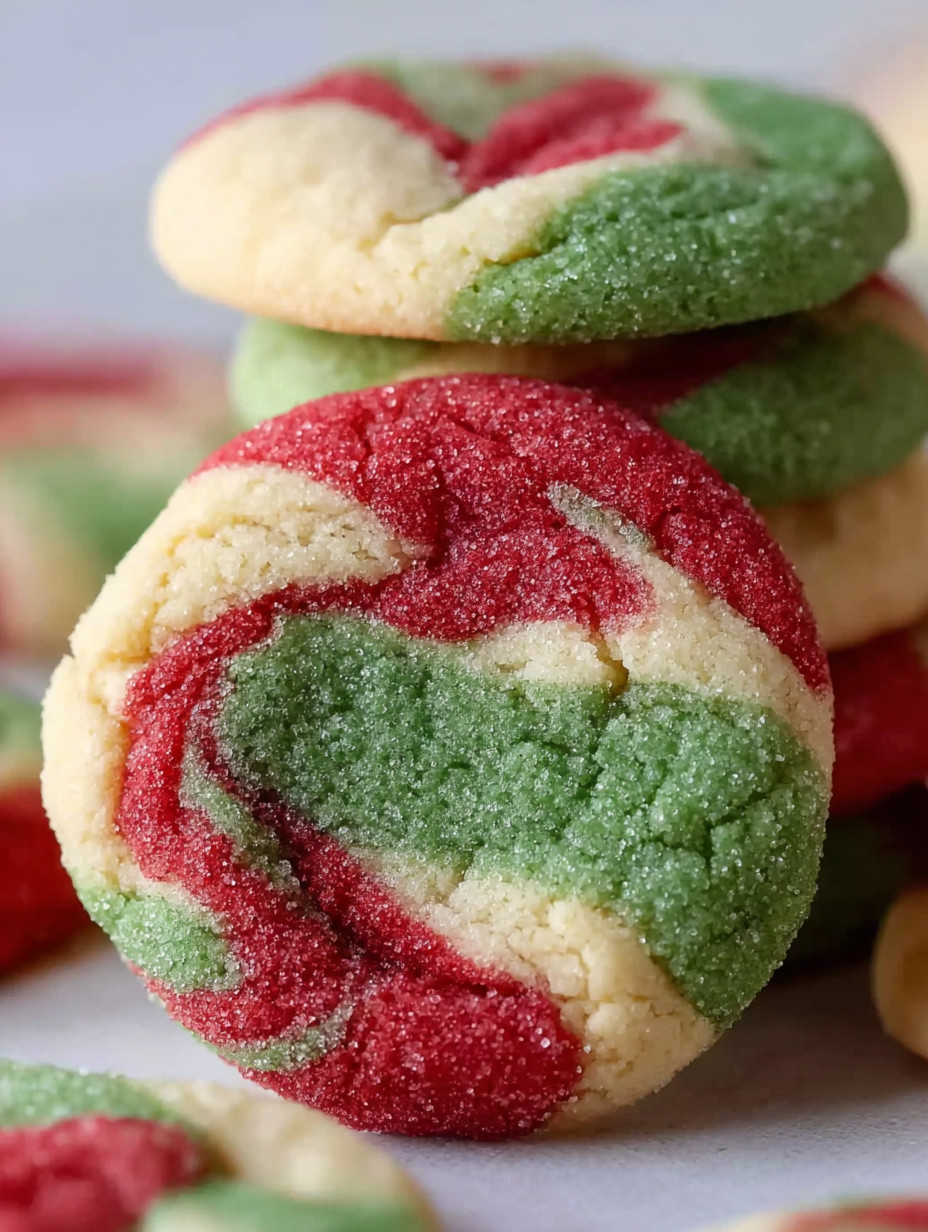
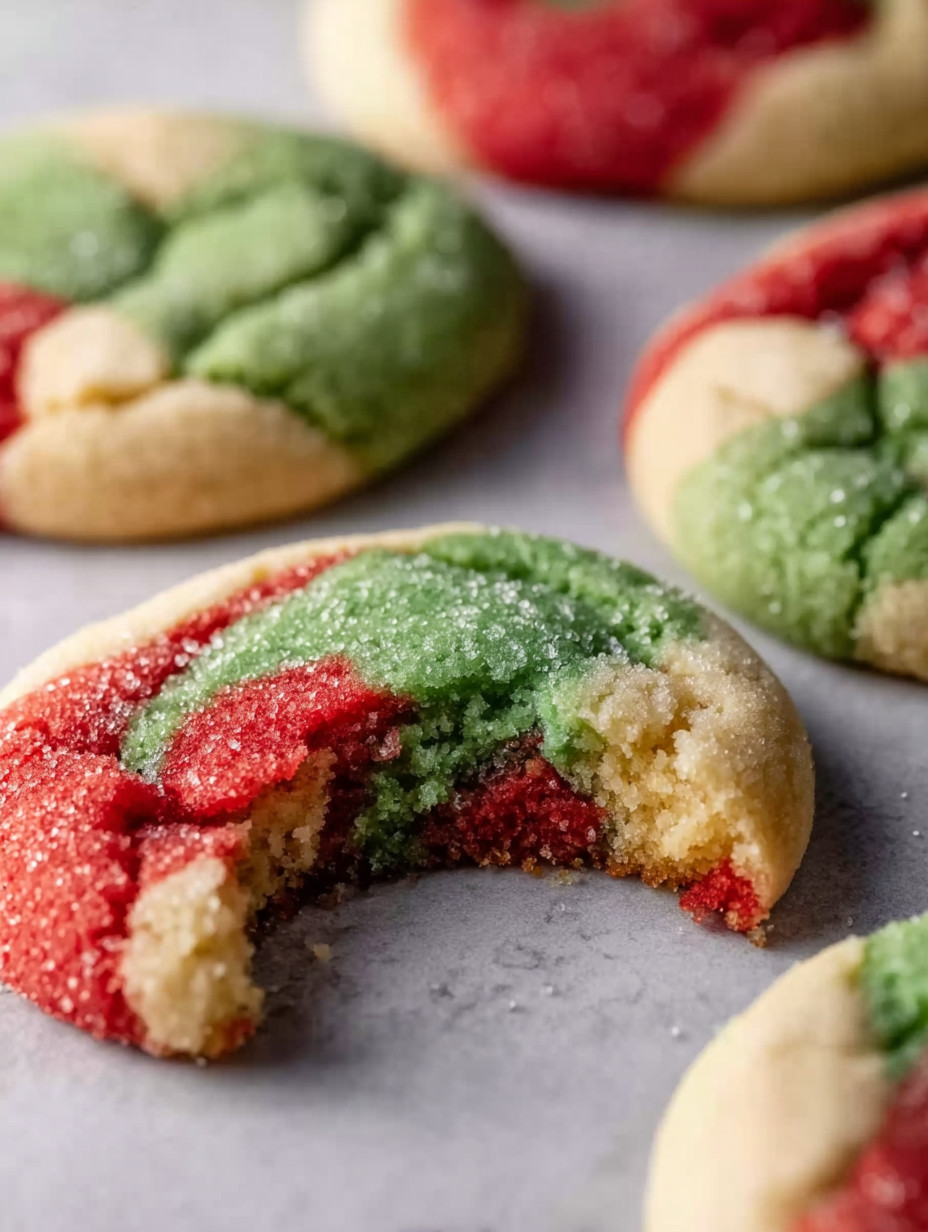
These festive marbled Christmas sugar cookies bring a playful swirl of red, green, and white straight to your holiday table. Soft and chewy with a beautiful marbled design, they are as much a delight to make as they are to eat. These cookies are perfect for sharing with family or gifting in cookie boxes, and they come together in less than 30 minutes, making them an ideal holiday treat even during busy days.
I remember making these with my nieces last Christmas. They loved squishing the colored dough together and creating their own designs. It turned into a fun holiday tradition that we still talk about.
Ingredients
- Butter: softened for creamy dough and rich flavor
- Granulated sugar: provides sweetness and helps create softness
- Brown sugar: adds moisture and gives depth for chewy cookies
- Large egg white: binds the dough without adding heaviness
- Vanilla extract: brings that classic cookie aroma feel free to add a touch of almond for extra festivity
- Allpurpose flour: is the base for cookie structure
- Baking soda: adds a gentle rise and slight chewiness
- Baking powder: enhances texture for soft cookies
- Salt: balances sweetness making the flavors pop
- Red and green gel food coloring: create that festive marbled look gel colors are best since they do not affect dough texture like liquids do
Instructions
- Preheat and prepare:
- Preheat your oven to 350 degrees Fahrenheit and prepare a baking sheet by lining it with parchment paper or a silicone baking mat. Set aside.
- Cream the butter and sugars:
- Cream the butter and sugars together in a large bowl until the mixture is light and fluffy using a stand mixer with a paddle attachment or by hand. Take a few minutes to build the foundation for the cookie's texture.
- Add egg white and vanilla:
- Add the egg white and vanilla extract to the creamed butter and sugar mixture. Mix for about 30 seconds or until fully combined, being gentle to keep the cookies tender.
- Combine dry ingredients:
- Combine the flour, baking soda, baking powder, and salt in a separate bowl. Gradually add the dry mixture to the wet ingredients, mixing only until just combined and no flour streaks remain to avoid toughening the dough.
- Divide and color the dough:
- Divide the dough into three equal portions and place each portion into separate small bowls. Leave one plain, add about one eighth teaspoon of red gel food coloring to the second bowl and green gel food coloring to the third. Knead the coloring evenly through each portion of dough without mixing the colors together.
- Form the cookies:
- Scoop one teaspoon of dough from each bowl and gently press the red, green, and plain dough together. Press into a cluster or layer smaller pieces for a more intricate marble effect, then roll gently into a ball and place on the prepared baking sheet. Repeat until all dough is used.
- Bake and cool:
- Bake the cookies in the 350 degrees oven for exactly seven minutes. Remove them carefully and let them cool on the baking sheet for five minutes before transferring to a wire rack to finish cooling. This resting period helps the cookies set without becoming hard.
 Pin it
My favorite part of this recipe is the marbling itself. I love how each cookie turns out completely unique, almost like edible artwork. One Christmas, my kids and I made a whole batch together and spent the afternoon admiring our little dough masterpieces before they baked. It was a simple moment filled with laughter and creativity that felt like the true spirit of the holidays.
Storage Tips
To keep these cookies fresh, store them at room temperature in an airtight container for up to three days. For longer storage, refrigerate for up to one week or freeze baked cookies for up to three months. When freezing dough, scoop individual balls and freeze on a tray before transferring to a container to prevent sticking. Bake frozen dough with an additional minute or two in the oven.
Ingredient Substitutions
If you do not have brown sugar on hand, substitute with an equal amount of light molasses mixed with granulated sugar to maintain moisture and flavor. For flour, allpurpose is best, but you can try half whole wheat for a nuttier flavor though texture will be denser. If you do not have gel food coloring, natural coloring powders like beet powder for red or matcha powder for green can be used but will alter flavor slightly.
Serving Suggestions
These cookies are delightful with a cold glass of milk or a warm cup of spiced tea. Arrange them on a festive platter for parties or package in cellophane bags tied with ribbon for easy gift giving. They also pair well with a scoop of vanilla ice cream for a dessert twist.
 Pin it
These marbled sugar cookies are an easy festive bake that brings color and cheer to holiday gatherings. Have fun with the marbling and enjoy sharing them with loved ones.
Frequently Asked Questions About Recipes
- → What makes these sugar cookies soft and chewy?
The addition of brown sugar and careful mixing helps keep the cookies soft and chewy, creating a tender texture.
- → How is the marbled effect achieved?
Dough portions are dyed red and green then gently pressed together with plain dough to create a unique marbled pattern before baking.
- → Can these cookies be made ahead of time?
Yes, the cookie dough can be frozen and baked later, or baked cookies stored for several days in airtight containers.
- → What’s the best way to handle the food coloring?
Gel food coloring is recommended as it doesn’t alter the dough texture, and gloves help prevent color mixing on hands.
- → How long should these cookies bake?
Bake the marbled cookies at 350°F for about 7 minutes to maintain softness without overbaking.
- → Are there tips for even marbling?
Gently rolling small portions of colored dough together without overmixing ensures a vibrant marbled appearance.