
 Pin it
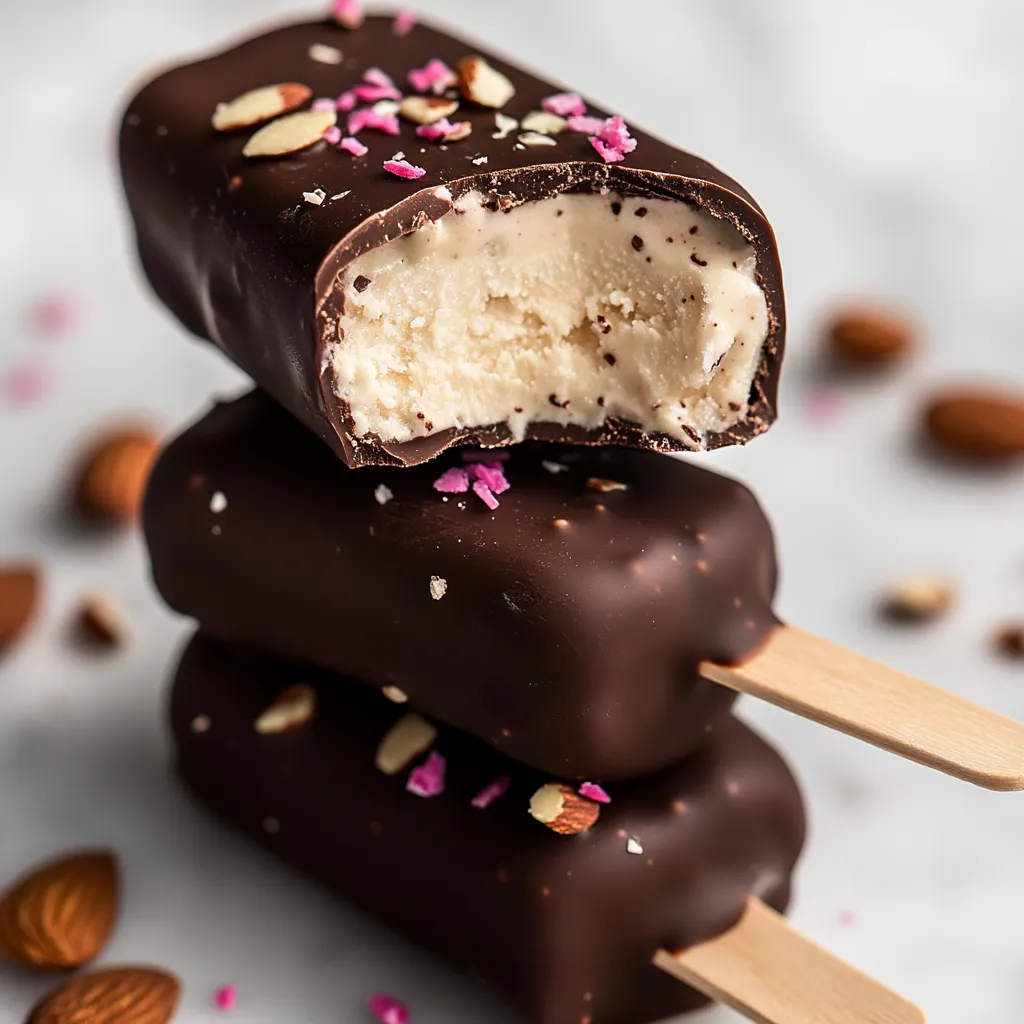
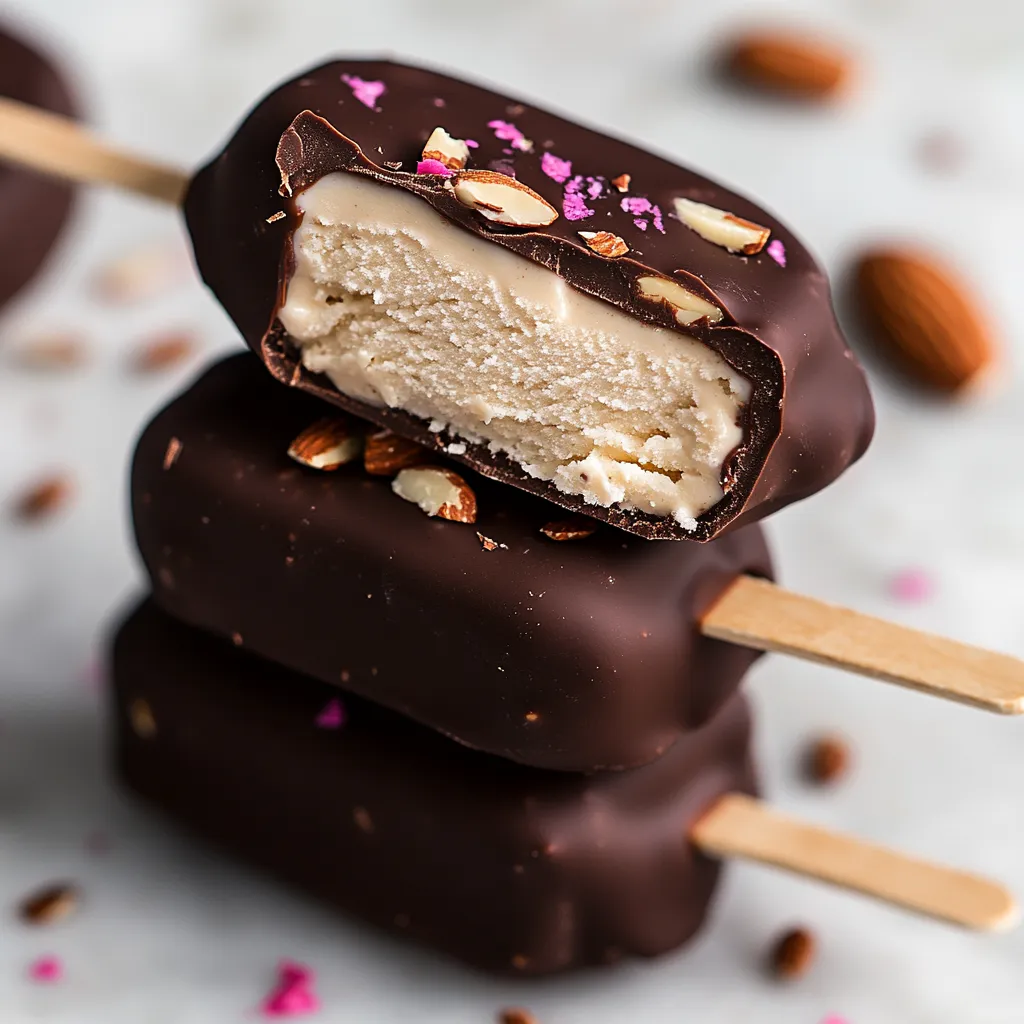
This homemade version of the beloved Almond Magnum captures all the indulgent satisfaction of the original while using wholesome plant-based ingredients. After years of craving that perfect combination of rich vanilla ice cream and crunchy chocolate shell, I developed this recipe that delivers even more flavor without the overwhelming sweetness of store-bought versions. The creamy cashew base creates a luxurious texture that rivals any dairy ice cream, while the homemade chocolate coating provides that satisfying crack when you bite into it.
I discovered this technique during a particularly disappointing convenience store Magnum experience. After one bite of the overly sweet commercial version, I knew I could create something better. The key breakthrough came when I realized that soaking cashews and dates together creates the perfect creamy base, while making chocolate from scratch allows you to control both sweetness and texture perfectly.
Ingredients
- Raw cashews (1 cup): The foundation of creaminess; their natural oils create that signature smooth texture when blended. Choose plump, white cashews for the best results.
- Medjool dates (4 large, pitted): Nature's caramel provides sweetness and helps bind the mixture. Look for soft, glossy dates that give slightly when pressed.
- Full-fat coconut milk (1 cup): Adds richness and helps achieve the perfect consistency. Either canned coconut cream or full-fat milk works equally well.
- Pure vanilla extract (1 teaspoon): Enhances the overall flavor profile; use real vanilla extract rather than imitation for depth.
- Raw cacao butter (3/4 cup, chopped): Creates the hard shell that cracks beautifully when bitten. This is what gives professional results compared to using coconut oil.
- Raw cacao powder (3/4 cup): Provides intense chocolate flavor without added sugar. Choose a high-quality powder for the richest taste.
- Pure maple syrup (3 to 4 tablespoons): Balances the bitter cacao with natural sweetness. Start with 3 tablespoons and adjust to taste.
- Sea salt (pinch): Enhances all the flavors and balances the sweetness perfectly.
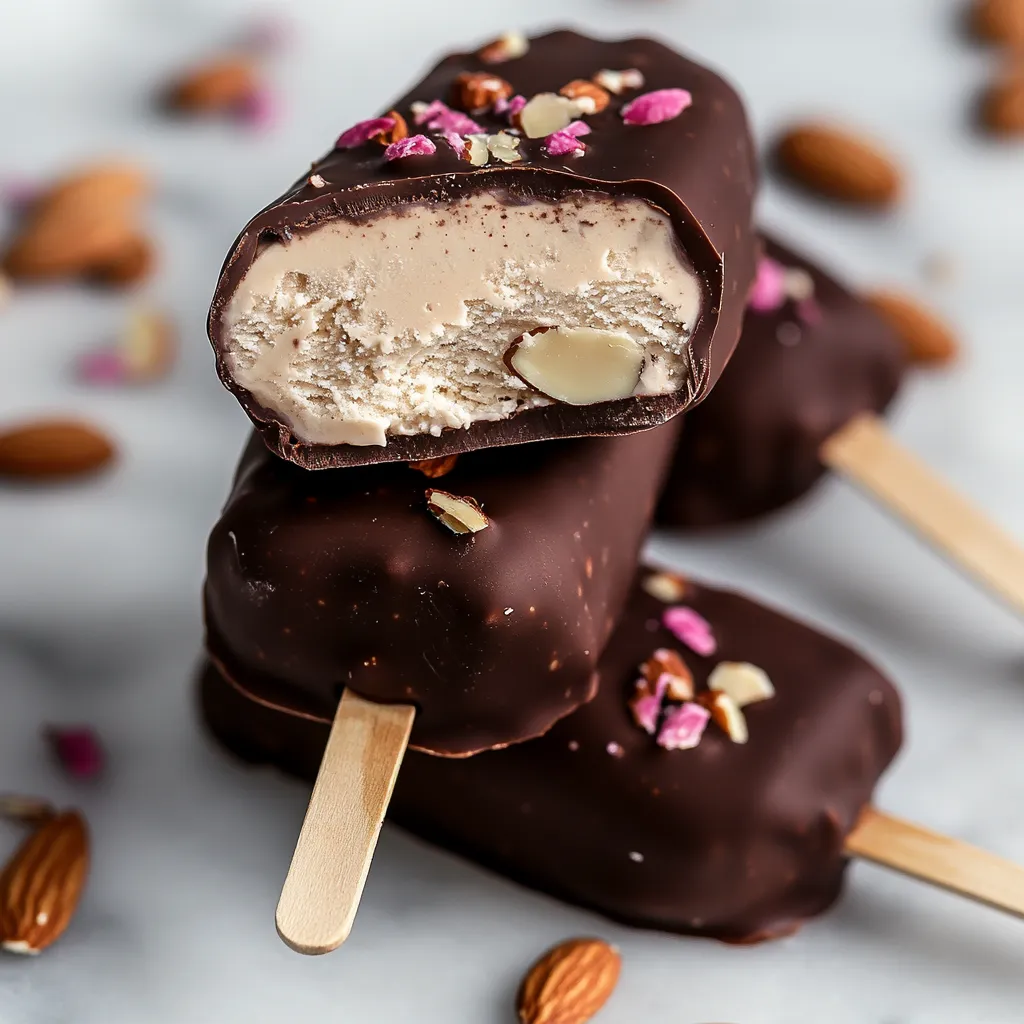
- Almonds (1/2 cup, chopped): Adds the signature crunch and nutty flavor. Sliced, slivered, or chopped all work beautifully.
Step-by-Step Instructions
- Prepare the Cashew Base:
- Rinse and drain the soaked cashews and dates thoroughly under cold water. Add them to your high-speed blender along with the coconut milk and vanilla extract. Blend on high speed for 2 to 3 minutes until the mixture is completely smooth and creamy with no visible cashew pieces remaining. The consistency should be similar to thick cream.
- Mold the Ice Cream:
- Pour the cashew mixture into silicone ice cream molds, filling each cavity about 3/4 full to allow for slight expansion. Insert wooden popsicle sticks, ensuring they're centered and pushed down far enough to be secure. The silicone molds are crucial here because the creamy texture makes removal from rigid plastic molds nearly impossible. Place the molds flat in your freezer for exactly 2 hours until completely firm.
- Create the Chocolate Shell:
- Bring about 2 inches of water to a gentle boil in a small saucepan. Chop the cacao butter into small, uniform pieces for even melting. Place the chopped cacao butter in a heat-resistant bowl and set it over the simmering water, creating a double boiler. Cover with a lid and let the cacao butter melt completely, stirring occasionally. This gentle method prevents scorching and ensures smooth melting.
- Finish the Chocolate Coating:
- Once the cacao butter is fully melted, carefully remove the bowl using oven mitts. Whisk in the cacao powder gradually, ensuring no lumps remain. The mixture should be glossy and smooth. Add the maple syrup slowly while stirring constantly, then incorporate the pinch of sea salt and chopped almonds. Pour this mixture into a tall, narrow glass or jar to make dipping easier. Let it cool for 15 minutes until slightly thickened but still fluid.
- Assemble the Bars:
- Remove each ice cream bar from its mold by gently pressing on the bottom of the silicone. Working quickly, dip each bar into the chocolate mixture, turning to coat completely. The chocolate will begin to harden within seconds due to the temperature difference. Add extra chopped almonds on top if desired while the chocolate is still soft. Serve immediately or return to the freezer for longer storage.
 Pin it
The secret ingredient that makes these bars special is time. I learned through many attempts that rushing the soaking process results in a grainy texture, while proper soaking creates that signature creamy mouthfeel. My family now requests these for every celebration, and I love knowing exactly what goes into each delicious bite.
Storage and Serving Tips
Store your finished bars in an airtight container in the freezer, separating layers with parchment paper to prevent sticking. They maintain their quality for up to three months, though they rarely last that long in our house. For the best eating experience, remove them from the freezer 8 to 10 minutes before serving to allow the ice cream to soften slightly while keeping the chocolate shell intact. This timing gives you that perfect contrast of textures that makes these bars so satisfying.
Ingredient Substitutions
If cacao butter isn't available, you can substitute refined coconut oil, though the chocolate shell will have a softer texture and may melt more quickly. For the cashew base, soaked macadamia nuts work beautifully but will create a richer, more buttery flavor. Agave nectar can replace maple syrup in the chocolate coating, and any variety of nuts can substitute for almonds. However, I've found that the original combination creates the most balanced and satisfying result.
Equipment Essentials
The right tools make all the difference with this recipe. Silicone ice cream bar molds are absolutely essential; I learned this the hard way when my first batch using plastic popsicle molds resulted in broken bars and frustration. A high-speed blender like a Vitamix ensures the smoothest cashew cream, though a regular blender works if you soak the cashews longer. A double boiler setup creates perfectly melted cacao butter without any risk of scorching.
 Pin it
Pro Tips
Soak your cashews and dates in the same bowl to save time and ensure even hydration throughout. Make extra chocolate coating and pour the remainder into molds for homemade chocolate bark as a bonus treat. Test your chocolate coating temperature by dipping a spoon; it should coat smoothly without being too thick or thin.
Frequently Asked Questions About Recipes
- → Can I make these without soaking the cashews?
Yes, if you have a high-powered blender like Vitamix, you can skip soaking entirely. For regular blenders, cover cashews and dates with boiling water for 15 minutes as a quick-soak method.
- → What's the best mold to use for these bars?
Silicone ice cream bar molds work best due to the creamy texture. Vertical popsicle molds are difficult to remove from and often break the bars. Horizontal silicone molds release easily and maintain the bar shape.
- → Can I substitute coconut oil for cacao butter?
Yes, but use refined coconut oil to avoid strong coconut flavor. The chocolate shell will melt faster than with cacao butter. You'll need about 3/4 cup melted coconut oil and can melt it directly on the stove over low heat.
- → How long do these keep in the freezer?
Store in an airtight container for up to 3 months. Let them defrost on the counter for 10 minutes before eating for the perfect texture. The chocolate shell stays firm while the center becomes perfectly creamy.
- → Why is my chocolate coating not hardening properly?
Make sure the cacao butter is completely melted and well-mixed with the cacao powder. Let the chocolate mixture cool for at least 15 minutes before dipping. The cold ice cream bars will help the chocolate set quickly.
- → Can I use different nuts instead of almonds?
Absolutely! Chopped hazelnuts, pistachios, or even coconut flakes work wonderfully. You can also mix different nuts for varied texture and flavor in each bite.